You have about two months before March arrives and buyers start flooding the market. If your goal is to list this spring in Overland Park, you still have time to prepare, position your home, and launch with confidence. With a clear plan, you can focus on the updates that matter, avoid last‑minute stress, and show your home at its best.
This guide gives you a step‑by‑step, 60‑day plan tailored to Overland Park sellers. You will see what to do each week, which improvements deliver the most impact, and how to time staging, photos, and your launch. Let’s dive in.
Why list in March in Overland Park
Spring is typically the busiest listing season in most U.S. markets, and that includes Johnson County. Many buyers begin their search in late winter and early spring so they can move by summer. Listing in March positions you to capture early demand.
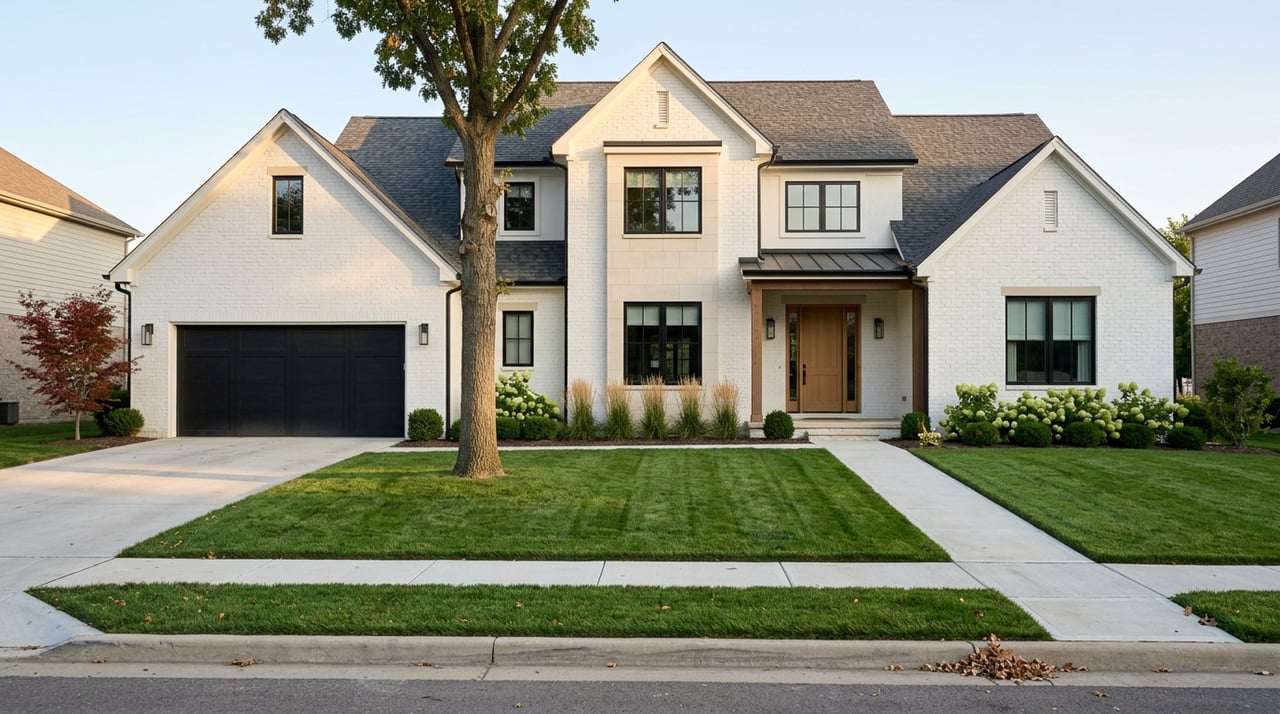
In a suburban market like Overland Park, buyers often prioritize proximity to schools, commute access to Kansas City employment hubs, updated kitchens and primary bathrooms, and outdoor spaces. Launching with strong curb appeal, bright interiors, and modern fixtures can help you stand out fast.
Many neighborhoods here are part of HOAs, and resale documents can take time. Factor those timelines into your prep so your listing can go live without delays.
Your 60‑day, week‑by‑week plan
Use these weekly milestones to stay on track for a March launch. Adjust dates to match your target listing week.
Week 8: Kickoff and planning
- Choose your March listing week and set a target go‑live date.
- Book core pros early: your agent, a pre‑list inspector, photographer, stager, and a handyman or contractor for estimates.
- Walk the property with your agent to create a prioritized repairs list.
- Order HOA resale documents if applicable since they can take time.
- Gather utility bills, prior inspections, permits, warranties, and appliance manuals.
Week 7: Estimates and scheduling
- Get bids for repairs, paint, carpet or flooring, and landscaping.
- Schedule contractor work for Weeks 5 to 3 and leave a buffer.
- Plan your pre‑list inspection for Week 5 or 4 so you have time to address items.
- Start decluttering non‑essentials in the garage, attic, and closets. Consider short‑term storage.
Week 6: Curb plan and deep clean booking
- Finalize landscaping: prune, mulch, and plan early spring color where possible.
- Refresh quick curb items: mailbox, house numbers, and exterior lighting.
- Book a professional deep clean and carpet clean for Week 2 or 1.
- Confirm staging rentals and delivery windows if you will stage.
Week 5: Minor repairs and touchups
- Tackle priority fixes: leaky faucets, sticky doors, missing caulk, squeaks, and scuffs.
- Paint high‑impact rooms in neutral tones. Aim to complete by end of Week 4.
- Update dated lighting for a bright, cohesive look.
- Address safety or maintenance items from the pre‑list inspection list.
Week 4: Cosmetic finishes and systems checks
- Complete painting and any carpet replacement or refinishing.
- Service HVAC, replace filters, and confirm water heater and major systems perform well.
- Power wash siding and hardscapes. Prep the lawn for early growth.
- If you scheduled a pre‑list inspection, have it done now and start fixes.
Week 3: Staging and final fixes
- Deep clean the entire home, including windows and baseboards.
- Move in staging or complete partial staging. Remove personal photos and bold decor.
- De‑odorize and replace bulbs with consistent daylight or soft white options.
- Finish small updates: closet organization, window treatment adjustments, and simple hardware swaps.
Week 2: Photos and marketing prep
- Schedule professional photos and any 3D or drone content after staging and cleaning. Aim for 7 to 10 days before your listing date.
- Draft your property description, key features sheet, and neighborhood highlights.
- Confirm open house plans and showing availability with your agent.
Week 1: Final checks and soft preview
- Two days before photos, complete a final tidy: make beds, clear kitchen and bath counters, hide bins and personal items.
- Walk through with your agent to confirm pricing, MLS details, and showing instructions.
- Set up digital access codes and a lockbox. Compile disclosures and HOA documents.
- Consider a neighbor preview or broker open in the week you go live.
Listing day in March
- Go live on the MLS and syndication channels. Launch social and email marketing.
- Schedule weekend open houses or broker tours if they fit your strategy.
- Keep the home show‑ready for the first 1 to 2 weeks when buyer activity peaks.
Light improvements that pay off
Focus on updates that buyers notice and that you can complete quickly.
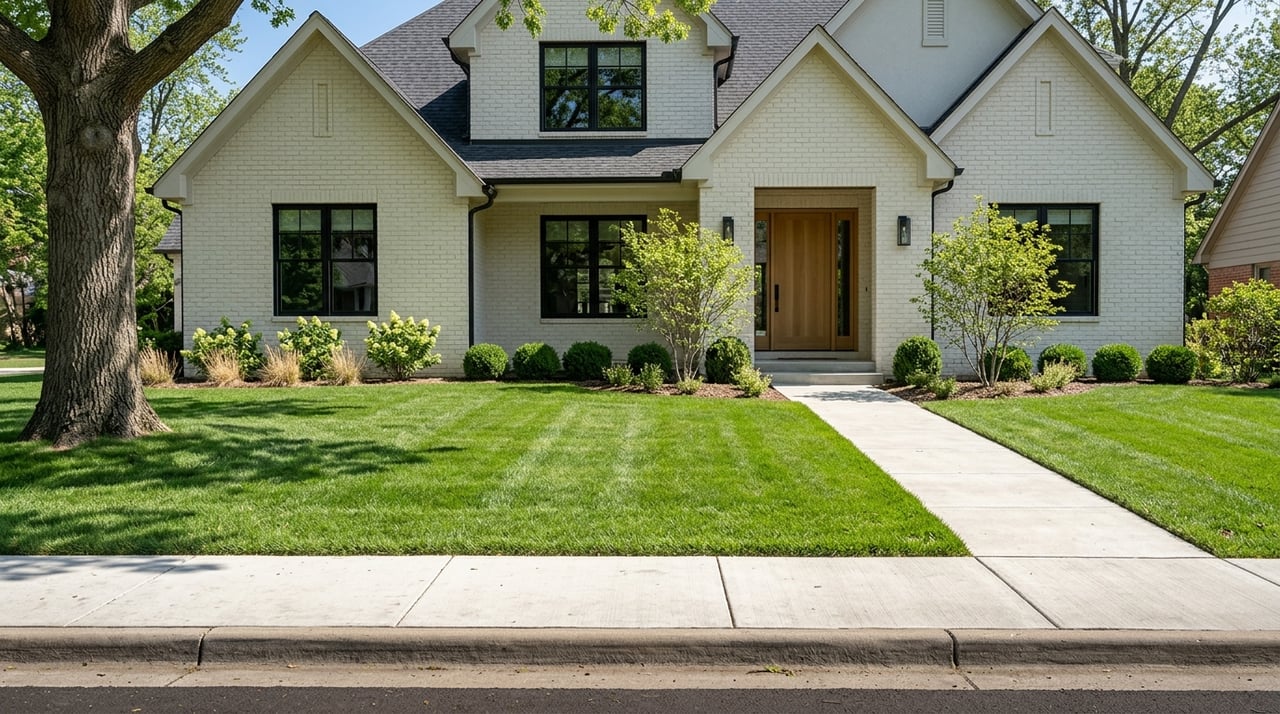
- Tier A, high impact: decluttering, deep cleaning, neutral paint, updated lighting, front door refresh, and landscaping.
- Tier B, moderate: cabinet hardware, faucet upgrades, carpet replacement or pro cleaning, and staging rentals.
- Tier C, targeted: larger kitchen or bath projects or major system replacements only when they are necessary to close.
Small finishes help your photos shine. Replace burnt bulbs with consistent color temperature, swap dated switch plates and outlet covers, and touch up scuffed trim and door frames.
Room‑by‑room checklist
A few focused edits can lift perceived value across every room.
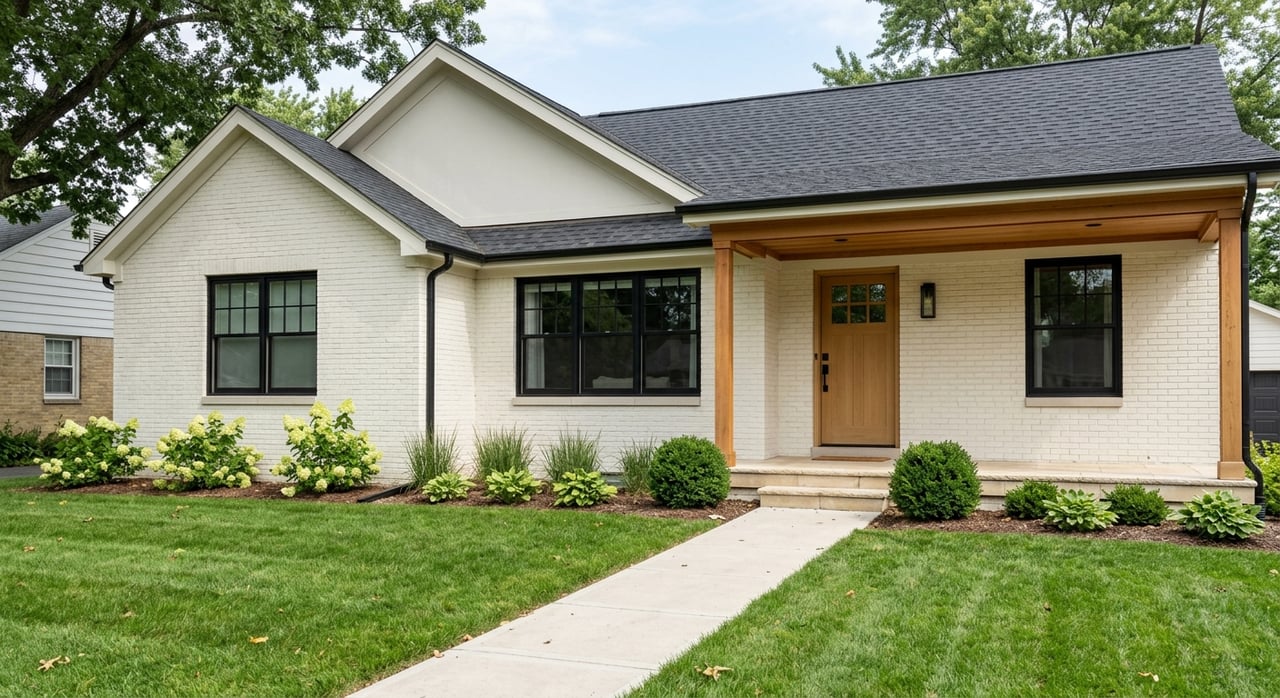
Curb appeal
- Mow, edge, and remove leaves or branches. Add fresh mulch.
- Repaint or refinish the front door. Update hardware and a clean welcome mat.
- Power wash siding and gutters. Clean windows visible from the street.
- Clear the driveway and garage entry. Remove oil stains.
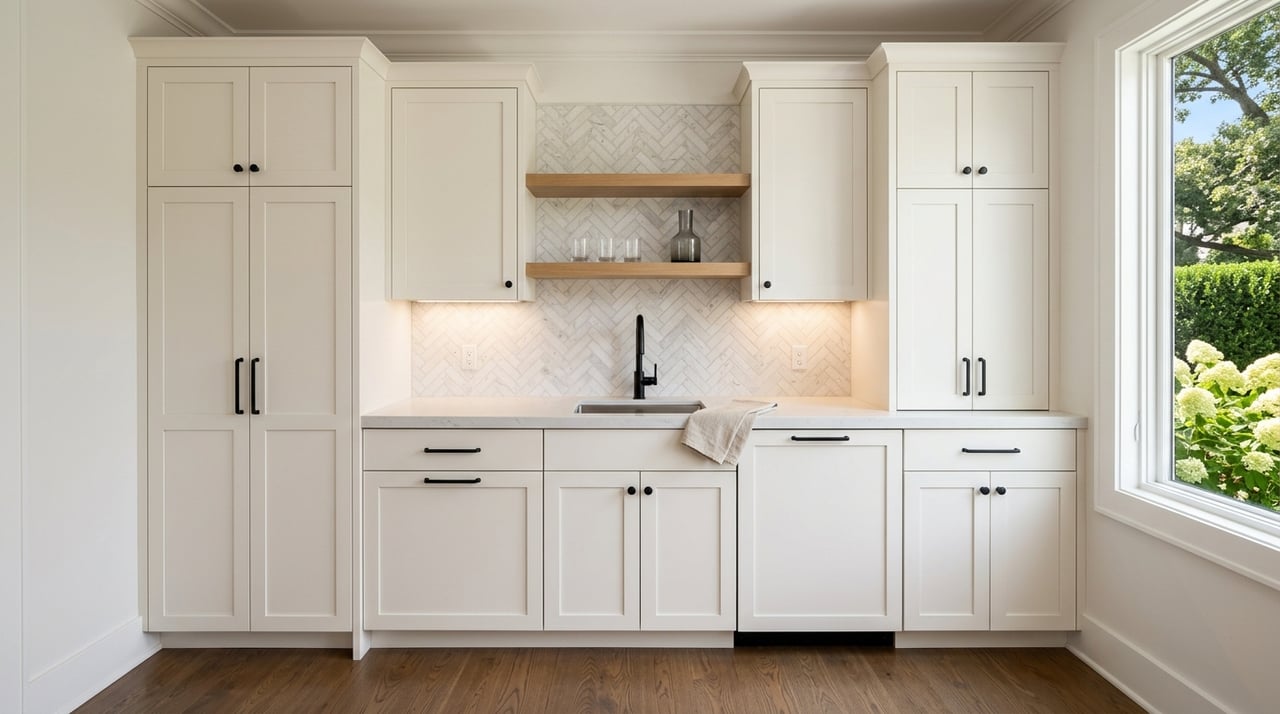
Kitchen
- Clear counters and style a few neutral pieces.
- Tighten or repair cabinet doors and consider updating hardware.
- Brighten lighting and replace mismatched bulbs.
- Professionally refinish cabinets if needed. Clean appliances and note ages and warranties.
Bathrooms
- Regrout and re‑caulk showers and tubs. Replace worn fixtures.
- Use crisp, neutral towels and keep surfaces clear.
- Ensure mirrors sparkle and lighting is bright.
Living, dining, and main spaces
- Remove extra furniture to improve flow. Consider staging for vacant rooms.
- Neutralize wall paint and decor. Limit personal photos.
- Conceal cables and tidy media areas.
Bedrooms and closets
- Use simple, neutral bedding. Clear tops of dressers.
- Edit closets to show generous storage and invest in a few matching hangers.
- Move overflow to storage instead of cramming closets.
Basement, attic, and garage
- Dry out and dehumidify if needed. Showcase usable storage.
- Create a clear walking path and tidy tools or shelving.
Logistics that protect your sale
A little planning around inspections, disclosures, and permits can prevent surprises later.
Pre‑list inspection
- Pros: you can find and fix issues before buyers do, reduce surprises, and tighten contingency windows.
- Cons: you may uncover items that require time and cost to address.
- Best practice: schedule in Week 5 or 4 so you can handle key items before photos.
Disclosures and HOA documents in Kansas
- Be prepared to complete state and federal disclosures. If your home was built before 1978, expect to provide lead‑based paint information.
- Many Overland Park neighborhoods require HOA resale packages. These can take several days to weeks, so order in Week 8.
- Work with your agent to confirm all required Kansas forms are complete and ready for buyers.
Permits and contractor work
- Cosmetic work rarely requires permits. Structural, electrical, and major plumbing often do.
- Confirm permit needs for any contractor work and keep final inspections handy for buyers.
Photos, tours, and marketing assets
- Book professional photography after staging and deep cleaning.
- Consider HDR photography, a twilight exterior, a floor plan, a 3D tour, and drone images if appropriate for your property and HOA rules.
- Aim to capture media 3 to 10 days before launch to allow for editing and marketing setup.
Showings and launch sequencing
Many agents prefer a mid‑week launch to build momentum for weekend showings. Confirm the exact day based on local MLS patterns.
Prepare showing instructions in advance: lockbox, keys, alarms, and pet plans.
Keep a showing checklist: secure valuables, hide prescriptions, open blinds, and turn on all lights.
Pricing and timing strategy
Set pricing with current comparable sales, active inventory, and market velocity from the local MLS. Your aim is to meet the market with a compelling number that attracts strong traffic in the first two weeks. In fast‑moving conditions, pricing just under a common search band can increase visibility. Validate your approach with local data and your agent’s read on buyer activity.
What to bring to your prep walk‑through
To make your planning session efficient, gather:
- Recent utility bills for energy cost context.
- Any prior inspection reports.
- Records of repairs, renovations, warranties, and permits.
- HOA contacts and rules if applicable.
- Appliance manuals and warranties.
- Extra keys and garage remotes.
- Photos of problem areas that are hard to access.
- A list of items you plan to exclude or leave with the property.
When you follow this 60‑day plan, you give yourself time to complete the right updates, line up your pros, and launch with confidence. A polished presentation, clear disclosures, and strong early marketing can help you secure attention in March when buyer activity rises. If you want a hands‑on partner to manage the details and elevate your home’s presentation, connect with Trent Gallagher‑ReeceNichols to start your plan.
FAQs
What makes March a smart time to list in Overland Park?
- Spring is typically the busiest season, and many buyers start searching then to align moves with late spring and summer.
How far in advance should I order HOA resale documents?
- Order in Week 8 of your plan since packages can take from a few days to several weeks depending on the association.
Should I invest in a pre‑list inspection before March?
- It is often worth it if you want fewer surprises and faster negotiations, provided you have time to address important findings.
Which light updates deliver the best return before photos?
- Neutral paint, updated lighting, curb appeal touchups, deep cleaning, and strategic staging usually offer the highest impact for the time and cost.
When should I schedule photography for a March launch?
- Book photos 7 to 10 days before going live, after cleaning and staging, so you have time for edits and marketing prep.
Do I need permits for quick cosmetic projects before listing?
- Most cosmetic work does not need permits, but structural, electrical, and major plumbing often do, so confirm requirements before scheduling work.